
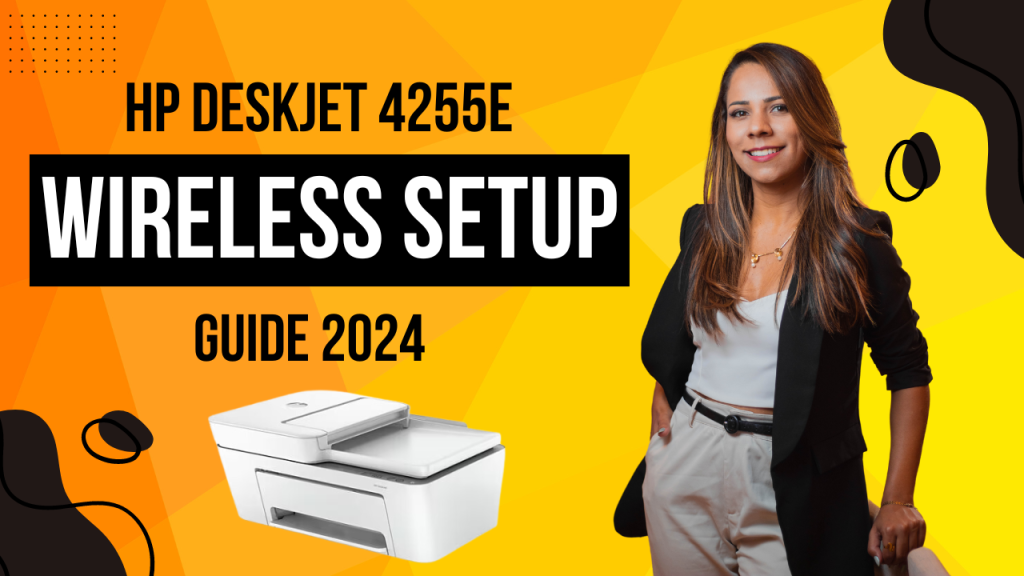
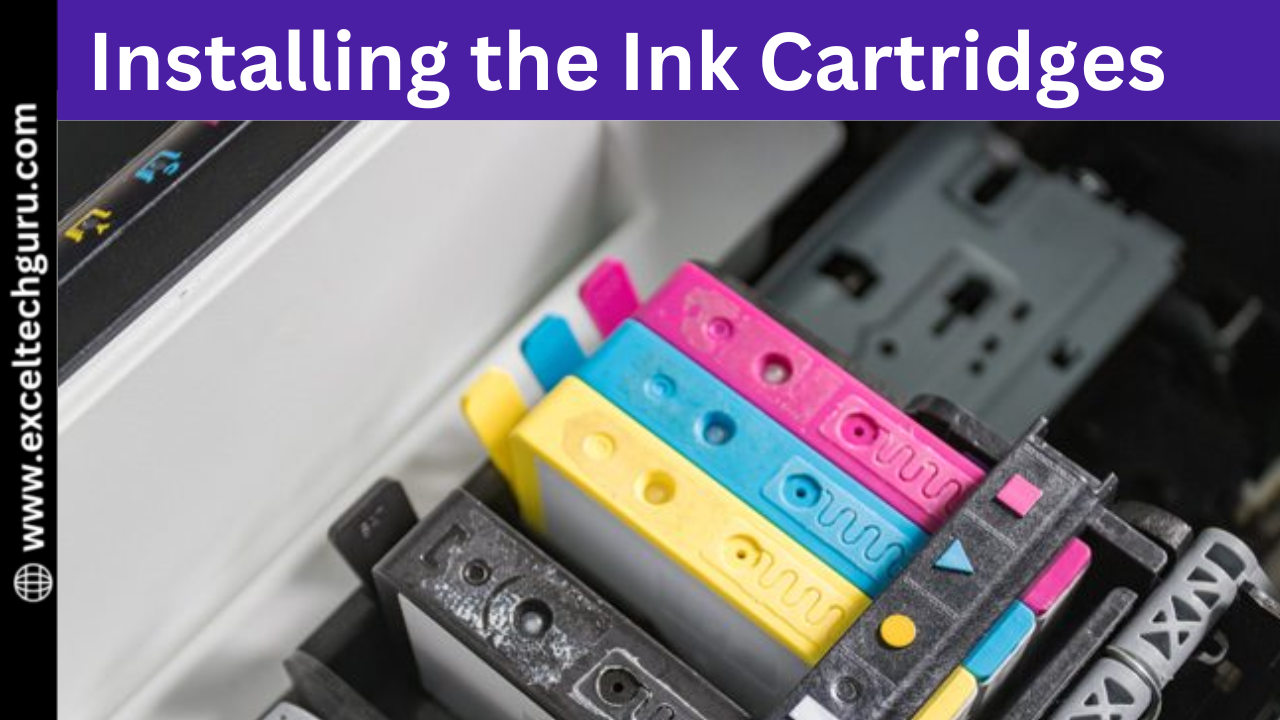
Installing the Ink Cartridges for HP DeskJet 4255e Wireless Setup
 Power on the Printer:
- Ensure the HP DeskJet 4255e Wireless Printer is powered on and ready for setup.
- Lift the top cover of the printer to reveal the cartridge access area.
- Wait for the carriage to move to the center for easy access to the cartridge slots.
- Unpackage the ink cartridges and remove any protective tape or coverings.
- Insert the cartridges into their corresponding slots, usually marked with color-coded indicators for black and color cartridges.
- Push each cartridge firmly into place until it clicks, ensuring a secure fit.
- Close the top cover of the printer.
- Allow the printer to initialize and align the cartridges, which may take a few moments.
- Confirm that the cartridges are installed correctly for optimal print quality.
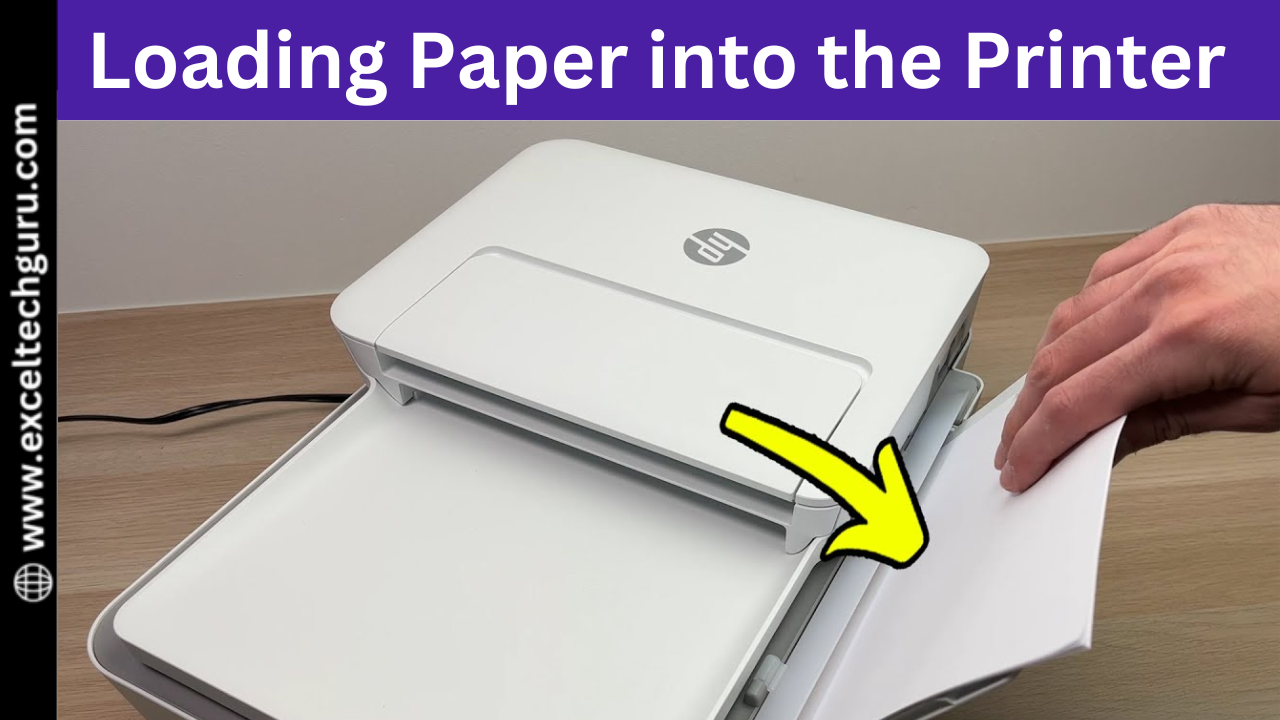
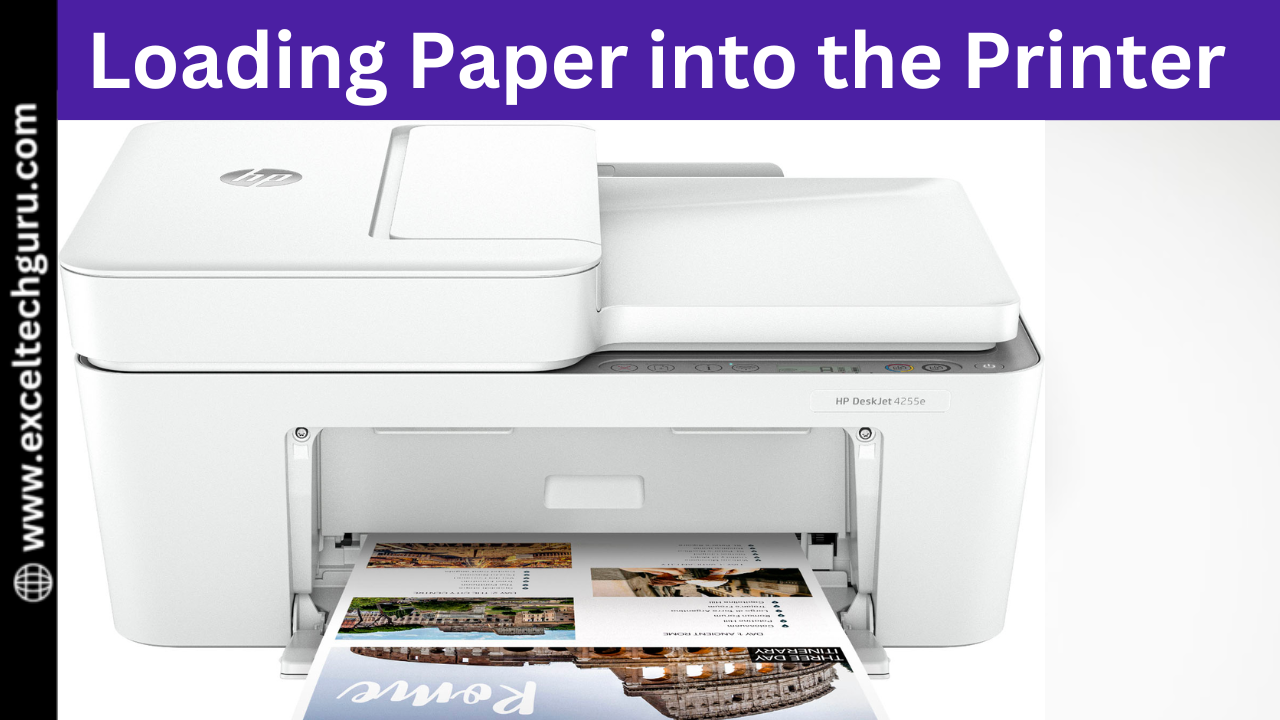
Loading Paper into the Printer
 Prepare the Paper Tray:
- Pull out the paper input tray at the bottom of the printer.
- Set the width guide to match the size of the paper you are using, whether it's standard letter size or another format.
- Take a stack of plain white paper and fan the sheets to prevent them from sticking together, which can cause jams.
- Insert the paper into the tray with the print side facing down.
- Ensure the stack is aligned and sits below the maximum paper load line.
- Move the width guide so that it touches the edges of the paper stack without bending it.
- Slide the paper tray back into the printer.
- Adjust the output tray if needed.
- Confirm that the paper is loaded correctly to avoid common issues like paper jams and misfeeds.
Connecting the HP DeskJet 4255e to Your Wi-Fi Network
 Power On the Printer:
- Ensure your HP DeskJet 4255e is powered on.
- Confirm that the Wi-Fi light on the control panel is blinking, indicating wireless setup mode.
- If the light is not blinking, press and hold the Wireless button for a few seconds until it starts blinking.
- On your computer or mobile device, go to the Wi-Fi settings.
- Choose the network name (SSID) that matches your printer's.
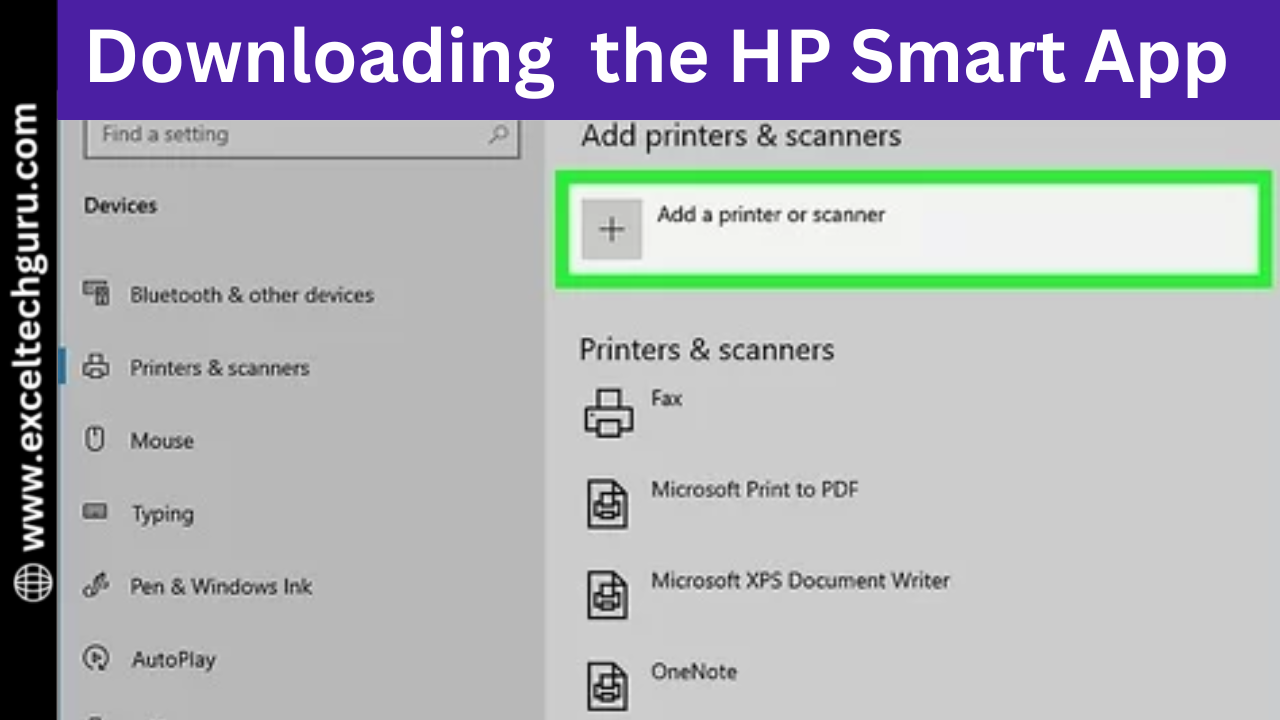
- Download the HP Smart app from the App Store or Google Play.
- Open the app and follow the on-screen prompts to add your printer.
- The app will detect your printer and guide you through the Wi-Fi connection process.
- Have your Wi-Fi password ready, as it will be required to complete the setup.
- Once connected, the Wi-Fi light will turn solid, indicating a successful connection.
- You can now print wirelessly from any device connected to the same network.
Downloading and Installing the HP Smart App
 Navigate to App Store or Google Play Store:
- For iOS devices, go to the App Store.
- For Android devices, go to the Google Play Store.
- In the search bar, type "HP Smart."
- Look for the official app developed by HP Inc.
- Tap the download button and wait for the app to install on your device.
- After installation, open the HP Smart App.
- Follow the prompts to set up an account or log in if you already have one.
- Use the app to manage printer setup, monitor ink levels, scan documents, and troubleshoot issues.
- The app will guide you through connecting your printer to your Wi-Fi network.
- Enjoy various print and scan options, and print from cloud services.
- The HP Smart App provides a convenient way to handle all your printing tasks from your smartphone or tablet.
Setting Up the Printer on Your Device (PC, Smartphone, Tablet)
 For PCs:
- Download the HP Smart app or full-featured driver from the official HP website.
- Follow the installation prompts to connect your printer to your computer.
- Download the HP Smart app from the App Store (iOS) or Google Play Store (Android).
- Open the app after installation.
- Follow the on-screen instructions to add your HP DeskJet 4255e.
- The app will automatically detect any HP printers on the same Wi-Fi network.
- Select your HP DeskJet 4255e and follow the prompts.
- Set your printer as the default printer if desired.
- Choose your settings and perform a test print to ensure proper setup.
- The setup process allows you to print, scan, and manage your printer from any device, providing ease of use and flexibility for all your printing needs.
Configuring Printer Settings and Preferences
Accessing Settings:- Open the HP Smart app or your computer's printer management interface to configure settings.
- Customize paper size, print quality, and color settings to fit your tasks.
- Choose default print modes (e.g., draft or high-quality) and configure advanced features like double-sided printing and paper type selection.
- Use the app or software to monitor ink levels, set up print schedules, and enable notifications for low ink or maintenance reminders.
- Customizing settings ensures efficient operation and high-quality results for every print job.
Troubleshooting Common Setup Issues
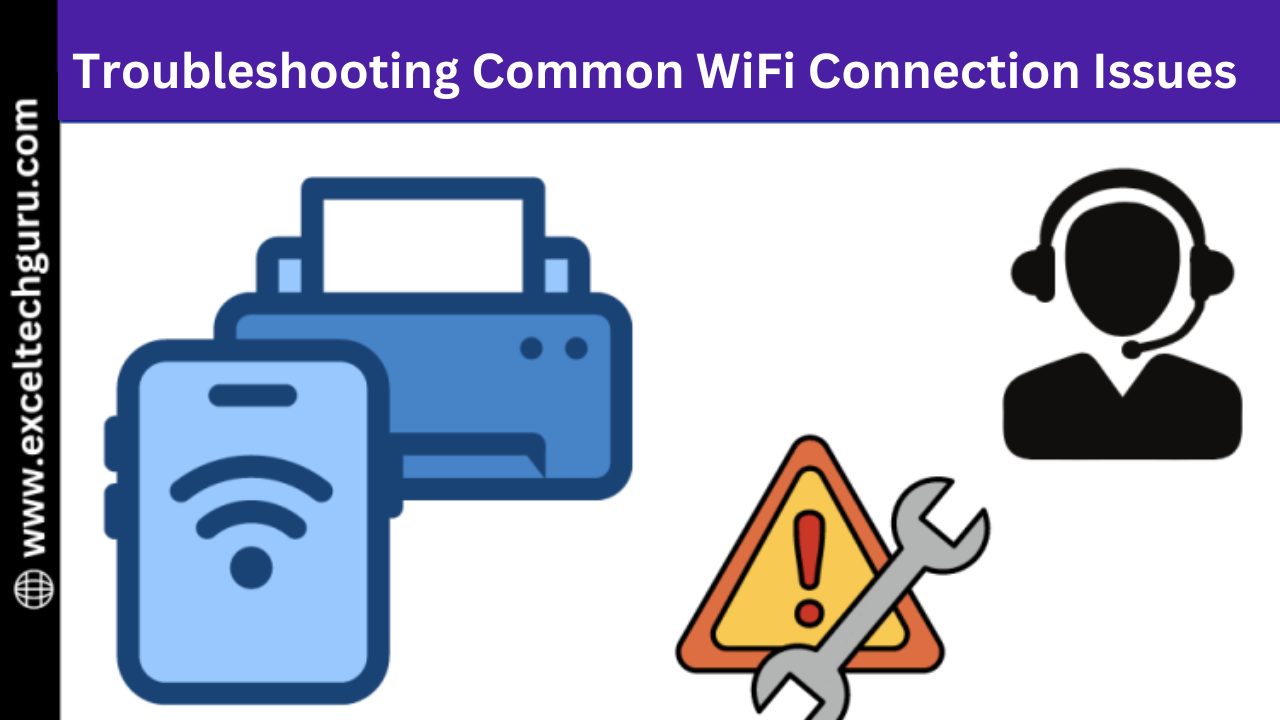 Wi-Fi Connection Problems:
- Ensure the printer and your device are on the same network.
- Restart both the printer and your router to refresh the network connection.
- Verify that the HP Smart app or printer drivers are up-to-date and properly installed.
- Ensure the printer is within range of your router and check for any obstructions.
- Consult the printer’s manual for correct installation procedures.
- Ensure cartridges are properly seated and compatible with your printer model.
- Follow the printer’s manual for steps to clear paper jams and reload paper correctly.
- Refer to the HP support website or contact customer service for further assistance.
Testing the Printer Connection
Ensure Power and Connection:- Confirm that your HP DeskJet 4255e is powered on and connected to the Wi-Fi network.
- From the HP Smart app or your computer’s printer settings, select the option to print a test page to verify that the printer is properly connected.
- Verify that the printer status in the HP Smart app or printer management interface shows as “Ready” or “Connected.”
- Examine the test page for print quality and alignment to ensure everything is functioning correctly.
- If the test page doesn’t print, check the Wi-Fi connection, ensure proper installation of ink cartridges, and verify that the paper tray is loaded correctly.
- Make sure the device you’re printing from (PC, smartphone, or tablet) is on the same Wi-Fi network as the printer.
Maintaining Your HP DeskJet 4255e After Setup
Regularly Check Ink Levels:- Use the HP Smart app or printer interface to monitor and replace ink cartridges as needed to avoid printing issues.
- Perform routine printhead cleaning using the HP Smart app or printer settings to ensure clear and high-quality prints.
- Wipe down the exterior and interior of the printer regularly to prevent dust and debris buildup.
- Check for and install any available firmware updates through the HP Smart app to keep your printer running smoothly and securely.
- Regularly check and reload paper into the tray, ensuring it's aligned and not overfilled to prevent paper jams.
- Follow maintenance prompts in the HP Smart app or printer settings to handle tasks such as alignment and calibration.
- Opt for recommended paper and ink types to maintain optimal print quality and prolong the life of your printer.
- If not used for extended periods, store your printer in a clean, dry place to avoid damage and ensure it’s ready for use when needed.
Enjoying Your New Wireless Printing Experience
In conclusion, embracing your new HP DeskJet 4255e Wireless Setup opens up a world of convenience and efficiency in your printing tasks. By following the setup steps carefully and customizing your printer’s settings, you ensure a seamless integration into your daily routine. With wireless connectivity, you can print from virtually any device, eliminating the hassle of cables and enhancing your productivity. Regular maintenance and proper care will keep your printer in top condition, delivering high-quality prints every time. Enjoy the freedom and flexibility of wireless printing, knowing that you have a reliable and user-friendly tool at your disposal to meet all your printing needs. Check our other HP guide: How to Connect HP Deskjet 2700 to WiFi Connect HP Deskjet 2652 to WiFiFAQ’s
Ensure your printer is powered on and the Wi-Fi light is blinking. If it isn’t, press and hold the Wireless button until it starts blinking. Then, follow the steps in the HP Smart app to connect your printer to your Wi-Fi network.
Make sure your Wi-Fi network is active and within range of the printer. Restart your router and printer, and then try the setup process again. Ensure that your device is connected to the same network you want the printer to connect to.
Lift the top cover of the printer to access the cartridge area. Wait for the carriage to move to the center. Unpack the ink cartridges, remove any protective tape, and insert them into the corresponding slots until they click into place.
Check the printer’s connection to the Wi-Fi network and ensure that it is set as the default printer on your device. Verify that there are no paper jams or low ink warnings. Restart the printer and your device, and try printing again.
If you still face any issues while clearing paper jam, you can contact our customer support for assistance by calling us or talking on live chat with our expert. They can provide step-by-step guidance to resolve any problems.


