
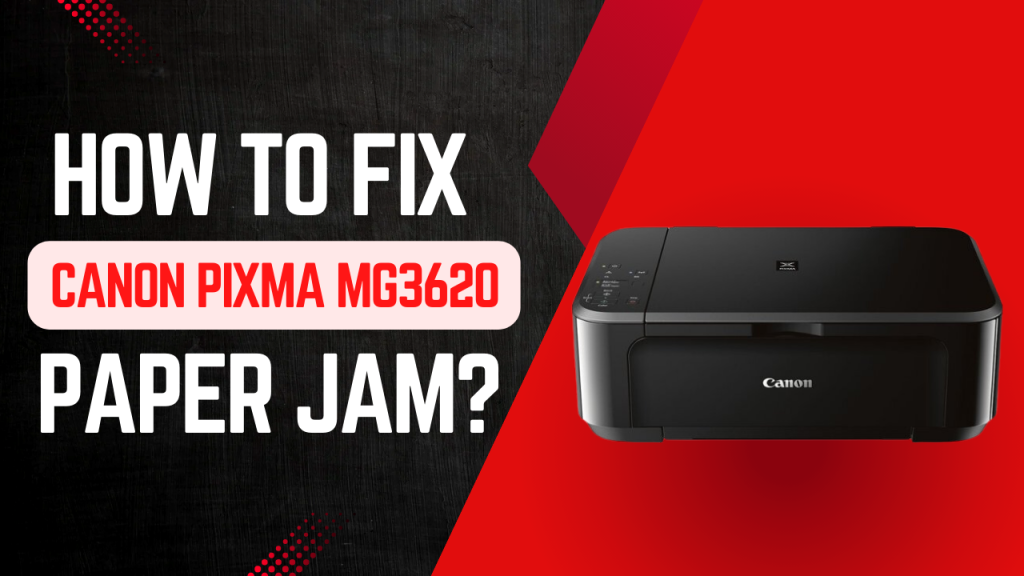
Identifying the Source of Canon MG3620 Paper Jam
To identify the source of the paper jam, start by checking the paper tray and the paper path through the printer. Open the front cover and the rear access door to inspect for any visible jams or obstructions, and refer to the printer’s control panel or user manual for specific guidance.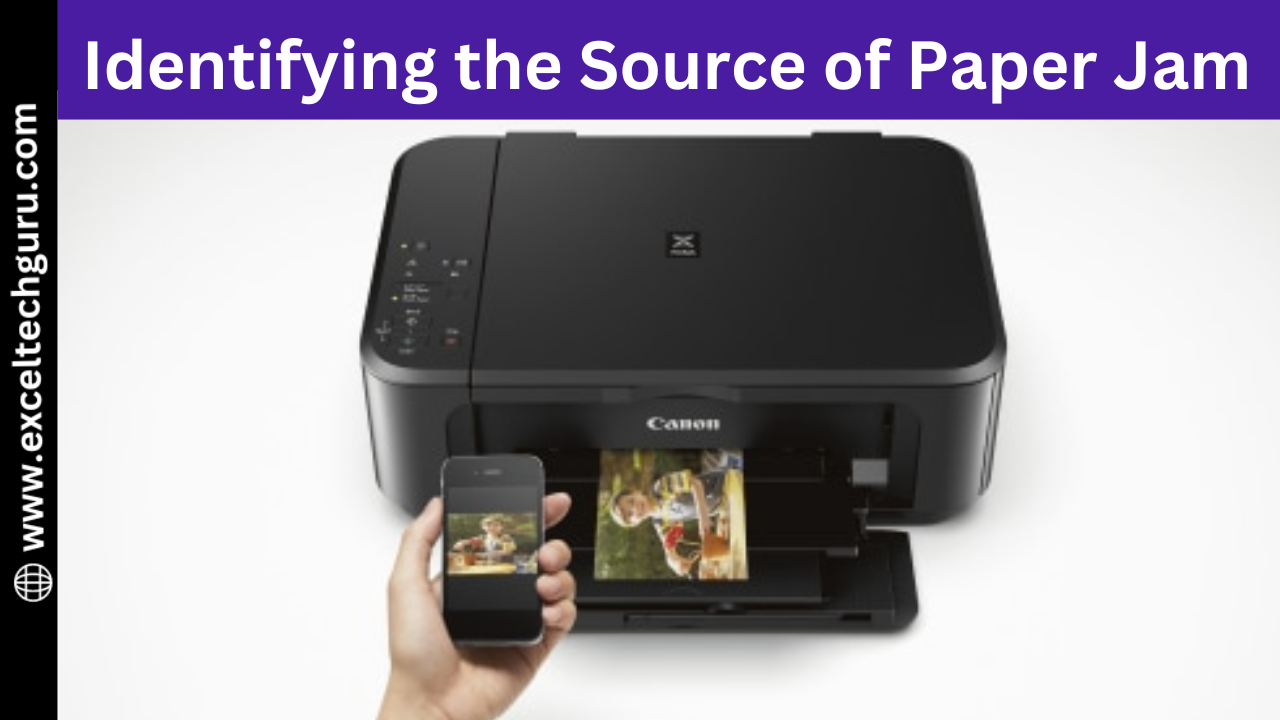
Powering Off and Unplugging the Printer
To safely resolve a paper jam, power off the Canon PIXMA MG3620 and unplug it from the power source. This ensures your safety and prevents any potential damage to the printer during the troubleshooting process.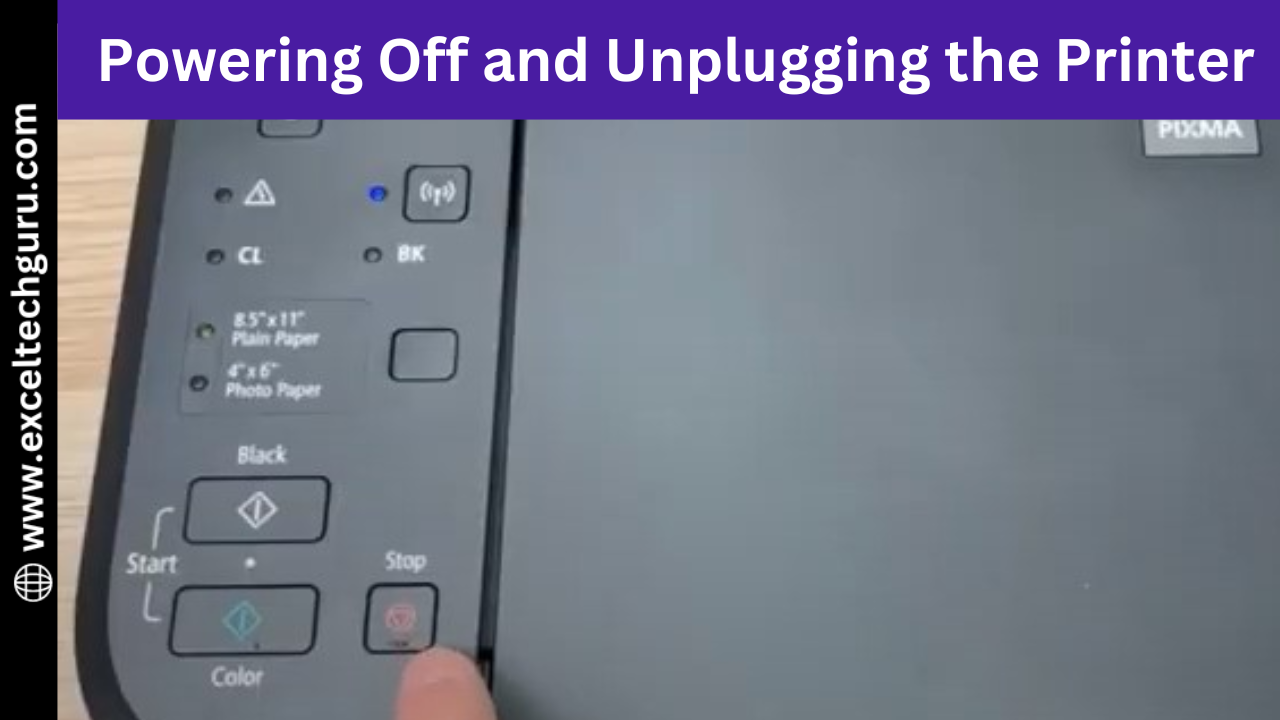
Removing Jammed Paper from the Rear Tray
Gently pull out any jammed paper from the rear tray of the Canon PIXMA MG3620, being careful not to tear the paper. This step helps clear blockages and allows for smooth printing operations.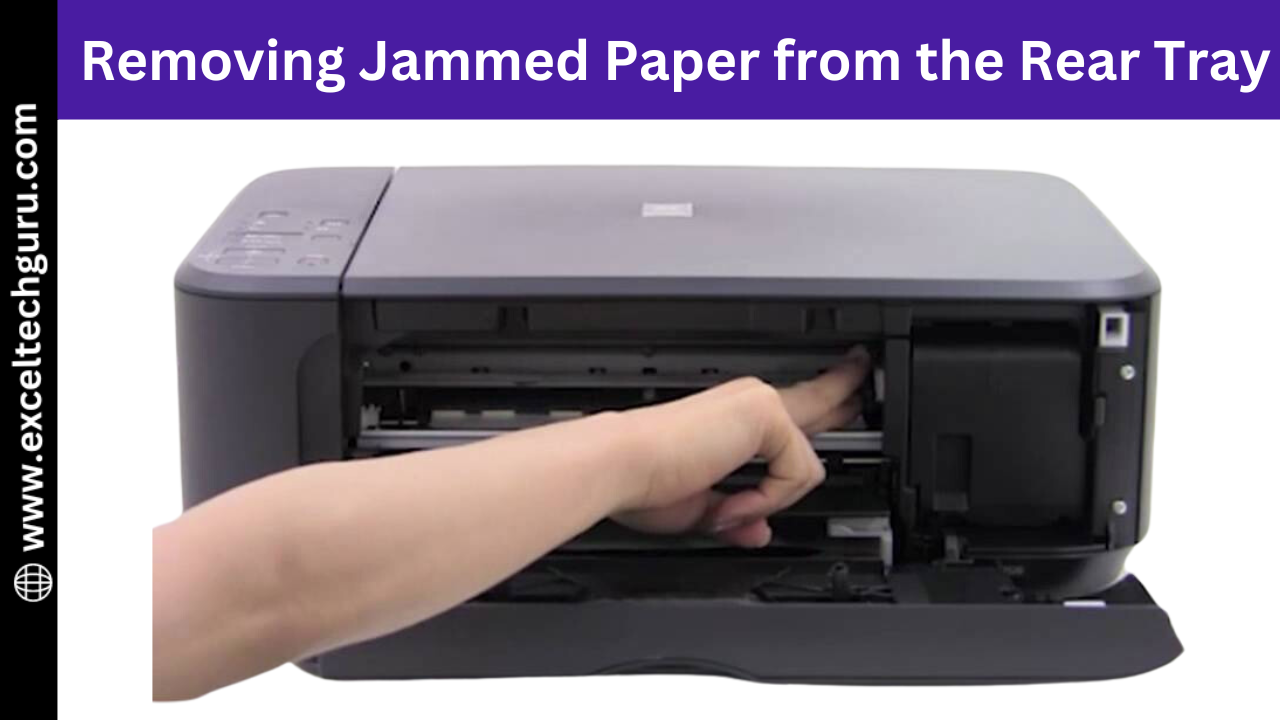
Clearing Paper Jams from the Front Tray
Carefully open the front tray of your Canon PIXMA MG3620 and remove any visible jammed paper. Ensure that all torn pieces are removed to prevent future jams and maintain smooth printing.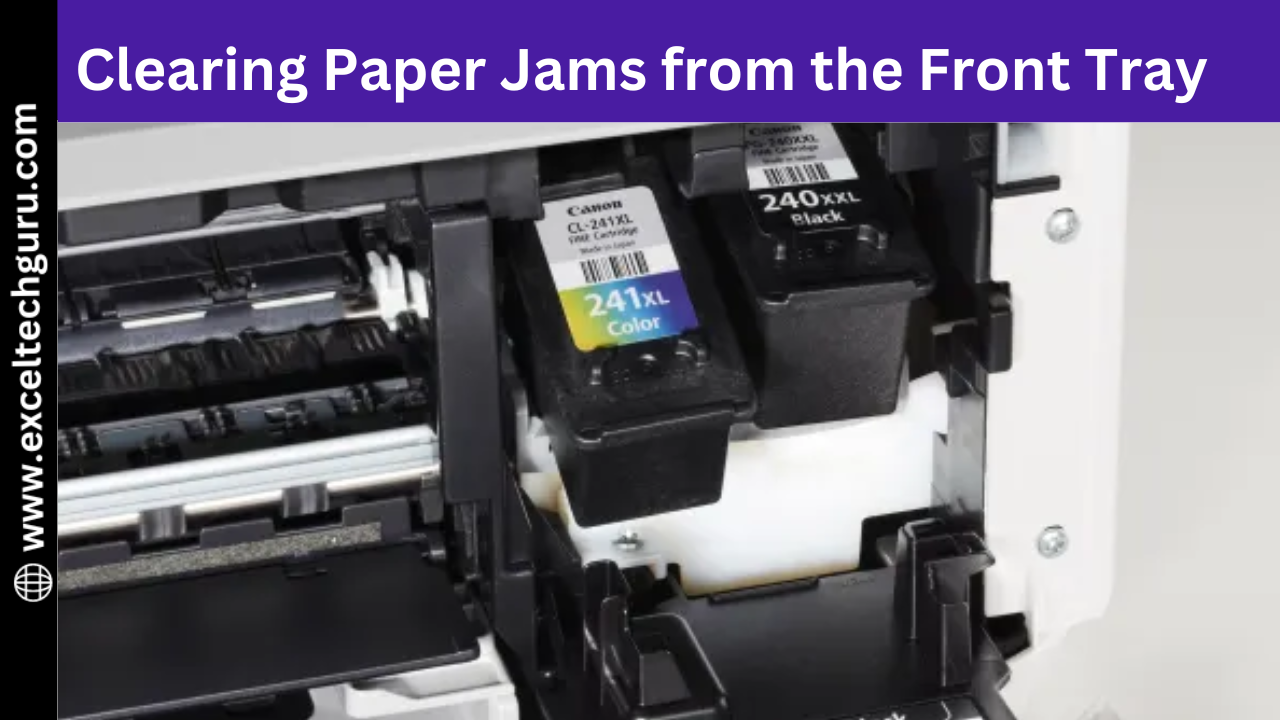
Inspecting the Paper Path for Obstructions
Inspect the entire paper path, including rollers and guides, for any remaining obstructions or debris. Clear any blockages to ensure smooth paper movement and prevent future jams.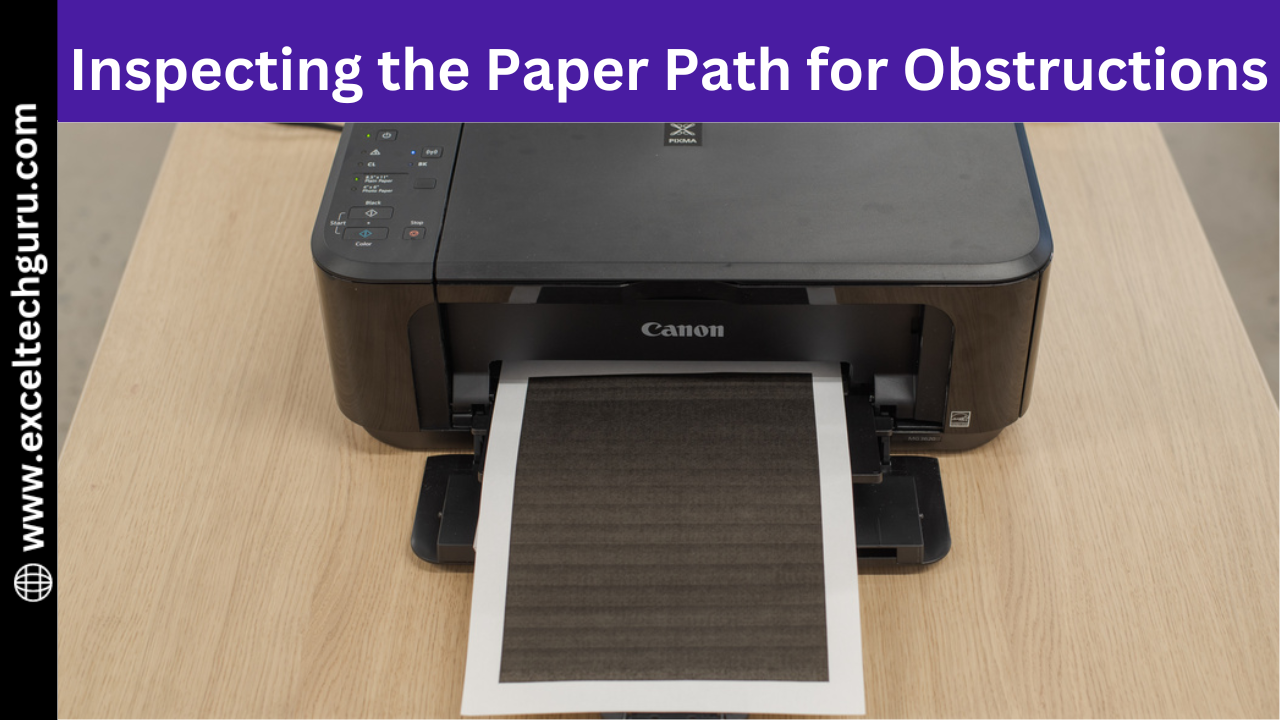
Checking and Cleaning the Paper Rollers
Check the paper rollers for dirt or debris and gently clean them using a lint-free cloth slightly dampened with water. This ensures the rollers grip the paper properly, preventing future jams.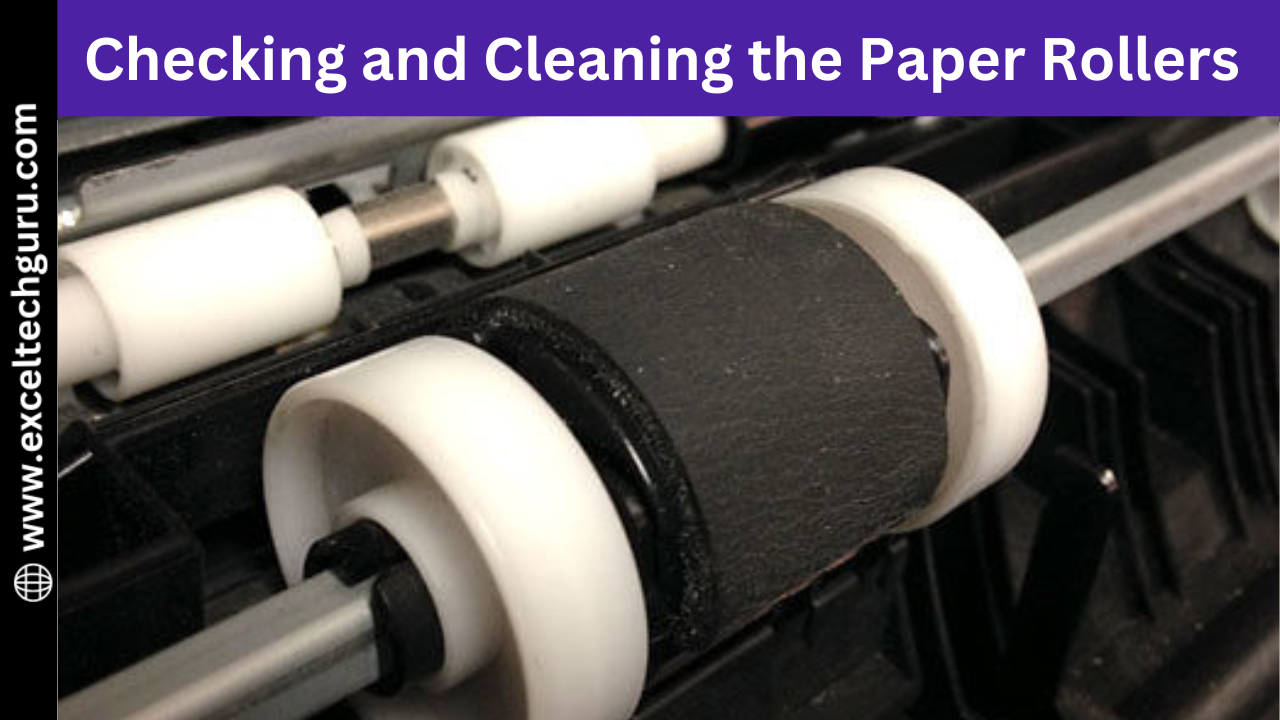
Ensuring Proper Paper Loading Techniques
Ensure that the paper is loaded correctly in the tray, without exceeding the paper capacity limit, and that the paper guides are snug but not too tight. This helps prevent misfeeds and jams.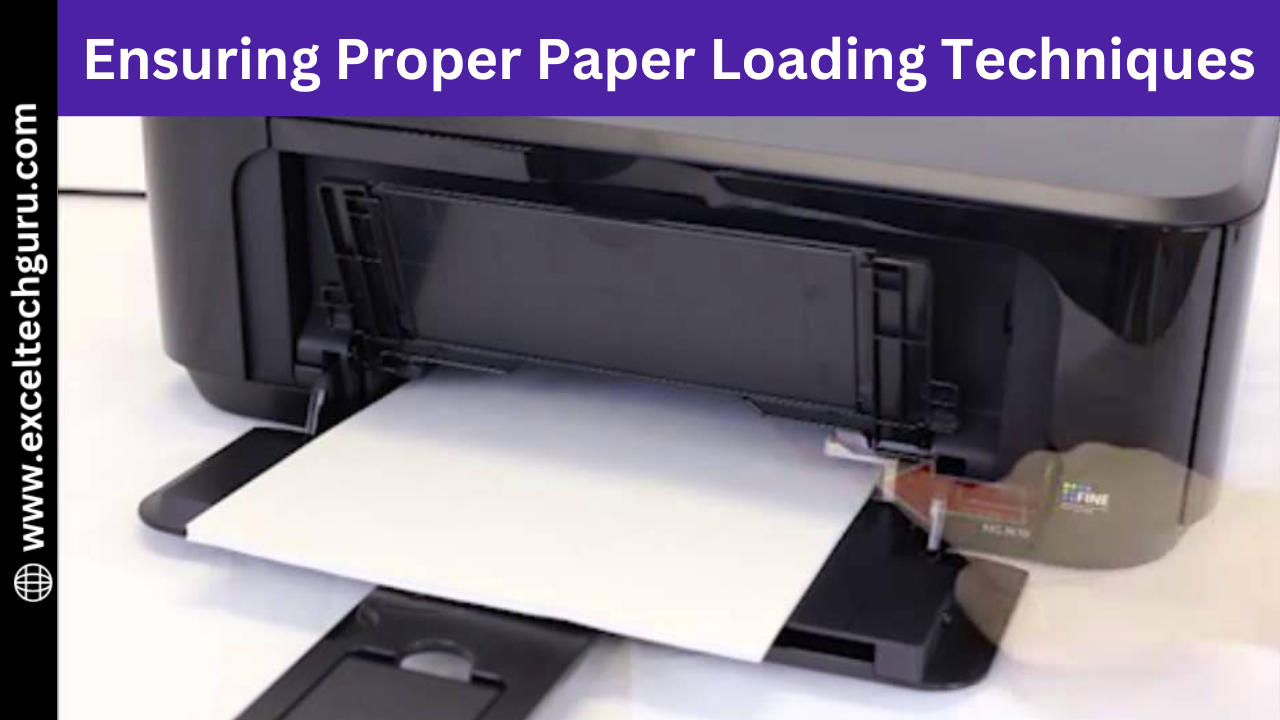
Running a Printer Diagnostic Test
Run a printer diagnostic test through your printer's software or control panel to identify any issues and confirm that the paper jam has been resolved. By following these straightforward steps, you can effectively resolve paper jams in your Canon PIXMA MG3620, ensuring a smooth and efficient printing experience. Regular maintenance, such as inspecting and cleaning the paper path and rollers, can prevent future issues and extend the life of your printer. Remember to always use high-quality paper and follow proper loading techniques to minimize the risk of jams. With these tips, you can say goodbye to the frustration of paper jams and enjoy hassle-free printing with your -Canon PIXMA MG3620.
Check our other guide:
Canon MG3600 Printer Not Responding
By following these straightforward steps, you can effectively resolve paper jams in your Canon PIXMA MG3620, ensuring a smooth and efficient printing experience. Regular maintenance, such as inspecting and cleaning the paper path and rollers, can prevent future issues and extend the life of your printer. Remember to always use high-quality paper and follow proper loading techniques to minimize the risk of jams. With these tips, you can say goodbye to the frustration of paper jams and enjoy hassle-free printing with your -Canon PIXMA MG3620.
Check our other guide:
Canon MG3600 Printer Not Responding
FAQ’s
Start by turning off the printer and unplugging it from the power source to ensure safety before attempting to remove any jammed paper.
Open the printer cover and check the rear and front trays for any visible jammed paper. Also, inspect the paper path for any obstructions.
Gently pull out the jammed paper from the rear tray, making sure not to tear it. If the paper tears, remove any remaining pieces to prevent further jams.
Open the front tray and carefully pull out the jammed paper. Be sure to remove all pieces of paper to avoid future jams.
If you still face any issues while clearing paper jam, you can contact our customer support for assistance by calling us or talking on live chat with our expert. They can provide step-by-step guidance to resolve any problems.


