
Benefits of Setting Up HP OfficeJet Pro 9125e Wirelessly
- Convenient Printing: Print from any device within your network without the need for physical connections.
- Increased Productivity: Easily share the printer with multiple users in your home or office, enhancing workflow efficiency.
- Mobile Printing: Print directly from your smartphone or tablet using HP Smart App or other mobile printing solutions.
- Remote Access: Send print jobs to your printer from anywhere with an internet connection, ideal for busy professionals on the go.
- Clutter-Free Workspace: Eliminate the need for numerous cables, keeping your workspace clean and organized.
- Easy Setup and Configuration: Streamlined process for connecting to WiFi, making it simple even for non-tech-savvy users.
- Enhanced Functionality: Utilize advanced features like scanning to email and cloud-based printing solutions with ease.
- Cost-Effective: Save on the cost of extra cables and reduce the need for multiple printers by sharing one device wirelessly.
- Flexibility: Easily move the printer to different locations within the WiFi range without the hassle of reconnecting cables.
- Environmentally Friendly: Reduce paper waste by using digital tools and mobile printing options to manage print jobs efficiently.
Preparing Your HP OfficeJet Pro 9125e for Wireless Setup
- Unbox the Printer: Carefully remove the printer and all its accessories from the packaging.
- Check Components: Ensure all included items (power cord, ink cartridges, user manual, etc.) are present.
- Remove Protective Materials: Take off any tape, stickers, or protective materials from the printer.
- Connect Power Supply: Plug the power cord into the printer and an electrical outlet, then turn on the printer.
- Install Ink Cartridges: Open the ink cartridge access door and insert the provided cartridges into their corresponding slots.
- Load Paper: Adjust the paper width guides and place a stack of plain paper into the input tray.
- Initial Setup: Follow the on-screen instructions on the printer’s control panel to select language, region, and set the date and time.
- Connect to WiFi Network: Ensure your WiFi network is operational and note down the network name (SSID) and password for later use.
- Download Necessary Software: Visit the HP support website to download and install the latest drivers and software for the OfficeJet Pro 9125e.
- Prepare Your Devices: Ensure the devices you plan to print from (computer, smartphone, tablet) are connected to the same WiFi network.
- Keep Login Details Handy: Have your WiFi network credentials ready for a smooth and quick setup process.
HP OfficeJet Pro 9125e Wireless Setup via Control Panel
- Power On the Printer: Ensure your HP OfficeJet Pro 9125e is turned on and the control panel is active.
- Access Wireless Settings: Tap the wireless icon on the printer’s control panel to open the wireless settings menu.
- Select WiFi Setup Wizard: From the wireless settings menu, select the “WiFi Setup Wizard” option.
- Choose Your Network: The printer will scan for available networks. Select your WiFi network (SSID) from the list.
- Enter Network Password: Use the on-screen keyboard to enter your WiFi network password, then confirm to proceed.
- Connect to Network: The printer will attempt to connect to the WiFi network. Wait for the confirmation message indicating a successful connection.
- Print Network Configuration Page: Optionally, you can print a network configuration page to verify the connection details.
- Install Printer Software: On your computer or mobile device, download and install the HP Smart app or HP printer software from the HP support website.
- Add Printer to Devices: Open the HP Smart app or software, follow the on-screen instructions to add your HP OfficeJet Pro 9125e, and complete the setup.
- Test the Connection: Print a test page from your computer or mobile device to ensure the wireless connection is working correctly.
Using the HP Smart App for Wireless Setup
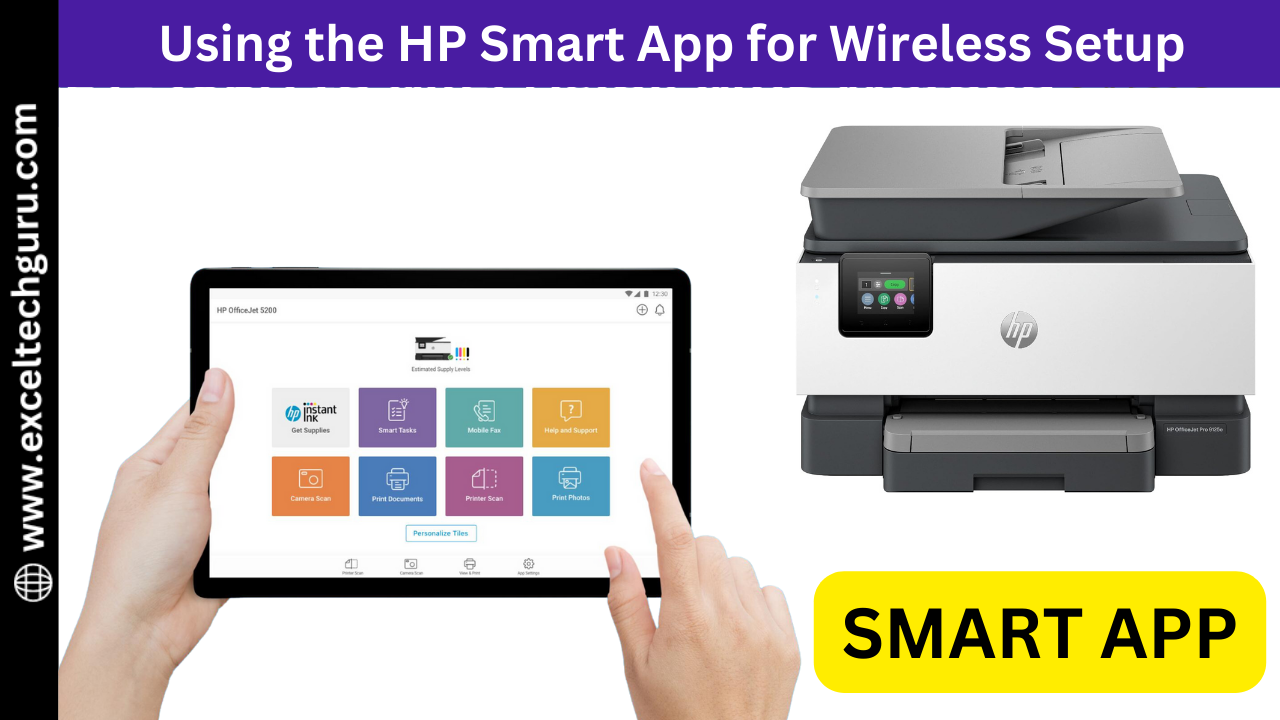
- Download the HP Smart App: Install the HP Smart app from the App Store (iOS) or Google Play Store (Android) on your mobile device.
- Open the HP Smart App: Launch the app and create or sign in to your HP account.
- Prepare Your Printer: Ensure your HP OfficeJet Pro 9125e is powered on and within range of your WiFi network.
- Add a New Printer: In the HP Smart app, tap the "+" button to add a new printer.
- Select Your Printer Model: The app will search for available printers. Select your HP OfficeJet Pro 9125e from the list.
- Connect to WiFi: Follow the on-screen instructions to connect your printer to your WiFi network. The app will prompt you to enter your WiFi network name (SSID) and password.
- Complete the Setup: Once the printer is connected to the WiFi network, the app will guide you through the remaining setup steps, such as installing any necessary software and updating firmware.
- Print a Test Page: Use the app to print a test page and ensure the wireless setup is successful.
- Configure Additional Settings: You can use the HP Smart app to adjust printer settings, monitor ink levels, and access additional features.
Connecting HP OfficeJet Pro 9125e to WiFi Using WPS Method
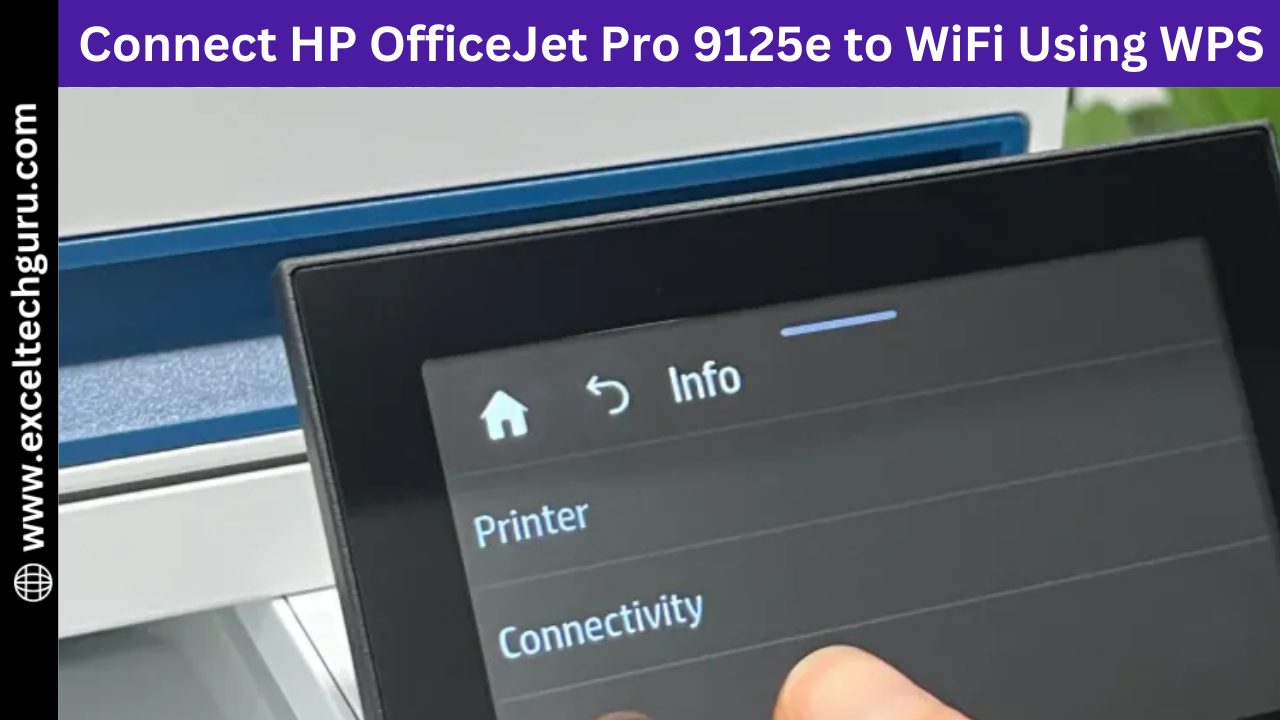
- Locate the WPS Button on Your Router: Ensure your wireless router has a WPS button. This is often labeled as "WPS" or represented by a symbol.
- Turn on Your Printer: Ensure your HP OfficeJet Pro 9125e is powered on and in a ready state.
- Access the Printer’s Control Panel: On the printer’s control panel, go to the “Wireless” or “Network” menu.
- Initiate WPS Setup: Select “WiFi Protected Setup” and then choose “Push Button” method.
- Press the WPS Button on Your Router: Within two minutes, press the WPS button on your wireless router.
- Wait for Connection: The printer will automatically connect to the WiFi network. A confirmation message will display on the printer’s control panel once the connection is successful.
- Print a Network Configuration Page: To ensure the connection is established, print a network configuration page from the printer settings.
- Complete Setup: Your HP OfficeJet Pro 9125e is now connected to your WiFi network using the WPS method. You can start using it for wireless printing.
Installing Necessary Drivers and Software for Wireless Printing

- Visit the HP Website: Go to the official HP support website.
- Search for Your Printer Model: Enter “HP OfficeJet Pro 9125e” in the search bar and select your printer model from the results.
- Download the Software: Locate and download the latest drivers and software package for your printer. Ensure you choose the correct version for your operating system.
- Run the Installer: Open the downloaded file to begin the installation process.
- Follow On-Screen Instructions: The installer will guide you through the setup process. Follow the prompts to install the necessary drivers and software.
- Select Connection Type: When prompted, choose “Wireless” as the connection type.
- Connect to WiFi: Ensure your computer is connected to the same WiFi network as your printer. The installer will search for your HP OfficeJet Pro 9125e and connect it to the network.
- Complete Installation: Finish the installation process by following any remaining prompts.
- Restart Your Devices: Restart both your printer and computer to finalize the setup.
- Test the Connection: Print a test page to confirm that the printer is correctly connected and functioning wirelessly.
- Keep Software Updated: Regularly check for driver updates to ensure optimal performance and compatibility.
Testing the Wireless Connection on HP OfficeJet Pro 9125e
- Print a Test Page: Access the printer’s control panel, navigate to “Settings,” and select “Print Quality Report” or “Print Test Page” to ensure proper connectivity and print quality.
- Use HP Smart App: Open the HP Smart App on your smartphone or computer, add your printer, and print a document or photo to verify the wireless connection.
- Check Printer Status: On the printer control panel, go to “Network” or “Wireless Settings” to view the connection status and ensure the printer is connected to the correct WiFi network.
- Print from Different Devices: Test the wireless connection by sending print jobs from various devices (e.g., laptops, smartphones, tablets) connected to the same WiFi network.
- Scan a Document: Use the HP Smart App or printer control panel to scan a document wirelessly and check if it saves to your device correctly.
- Monitor Printer's Web Interface: Access the printer’s web interface by entering its IP address in a web browser. Check the network settings and connection status.
- Ping the Printer’s IP Address: On a computer, open the Command Prompt (Windows) or Terminal (Mac), type “ping [printer’s IP address],” and press Enter to verify network communication.
- Verify Print Queue: On your computer, check the print queue to ensure that jobs are being sent and processed without errors.
- Ensure Firmware is Up-to-Date: Access the printer’s settings to check for firmware updates. Keeping firmware current can resolve connectivity issues.
- Reboot Devices if Necessary: If you encounter any issues, restart your printer, router, and computer to refresh the connection.
Troubleshooting Common Wireless Connection Issues
- Check WiFi Signal Strength: Ensure your printer is within range of your WiFi router to maintain a strong signal. Move it closer if needed.
- Restart Devices: Reboot your printer, router, and computer to reset the network connection and resolve minor connectivity issues.
- Verify Network Settings: On the printer’s control panel, navigate to “Network” or “Wireless Settings” to confirm it’s connected to the correct WiFi network.
- Update Firmware: Check for and install any available firmware updates for your printer to fix bugs and improve connectivity.
- Re-enter WiFi Credentials: Sometimes, re-entering your WiFi network name (SSID) and password on the printer can resolve connection issues.
- Check for Interference: Ensure there are no physical obstructions or electronic devices (e.g., microwaves, cordless phones) causing interference with the WiFi signal.
- Use Static IP Address: Assign a static IP address to your printer via your router’s settings to prevent IP address conflicts.
- Disable Firewall Temporarily: Disable the firewall on your computer temporarily to see if it’s blocking the printer connection.
- Factory Reset Printer: As a last resort, perform a factory reset on your printer and set up the wireless connection again from scratch.
- Consult HP Support: If you continue to experience issues, refer to the HP support website or contact customer support for assistance.
Enjoy Seamless Wireless Printing with HP OfficeJet Pro 9125e
Setting up your HP OfficeJet Pro 9125e for wireless printing unlocks a world of convenience and efficiency. By following the steps outlined in this guide, you can easily connect your printer to your WiFi network and enjoy the benefits of wireless printing from any device within your home or office. Whether you choose to use the printer's control panel, the HP Smart App, or the WPS method, the process is straightforward and designed to get you up and running quickly. You can also find our guide on HP Envy 6055e Connect to WiFi Setup with all the available methods like HP Smart App, or the WPS method. If you encounter any issues along the way, our troubleshooting tips can help you resolve common connectivity problems and ensure a stable connection. With your HP OfficeJet Pro 9125e wireless setup successfully, you can look forward to seamless, high-quality printing that meets all your professional and personal needs. Embrace the freedom and flexibility of wireless printing, and make the most of your HP OfficeJet Pro 9125e’s advanced features for a smooth, hassle-free printing experience.FAQ’s
o prepare for the wireless setup, ensure that your printer is plugged in and turned on, your WiFi network is active, and you have the network name (SSID) and password available. Additionally, download the latest drivers and software from the HP website if needed.
To connect using the control panel, navigate to the network settings menu on the printer’s touchscreen, select the WiFi setup option, choose your network from the list, and enter the network password when prompted.
Yes, you can use the HP Smart App for wireless setup. Download the app on your mobile device, follow the on-screen instructions to add a new printer, and connect the printer to your WiFi network through the app.
To use the WPS method, press the WPS button on your router, then press the WPS button on your printer. This will automatically connect the printer to your WiFi network without needing to enter a password.
If you still face any issues while wifi setup, you can contact our customer support for assistance by calling us or talking on live chat with our expert. They can provide step-by-step guidance to resolve any problems.


