

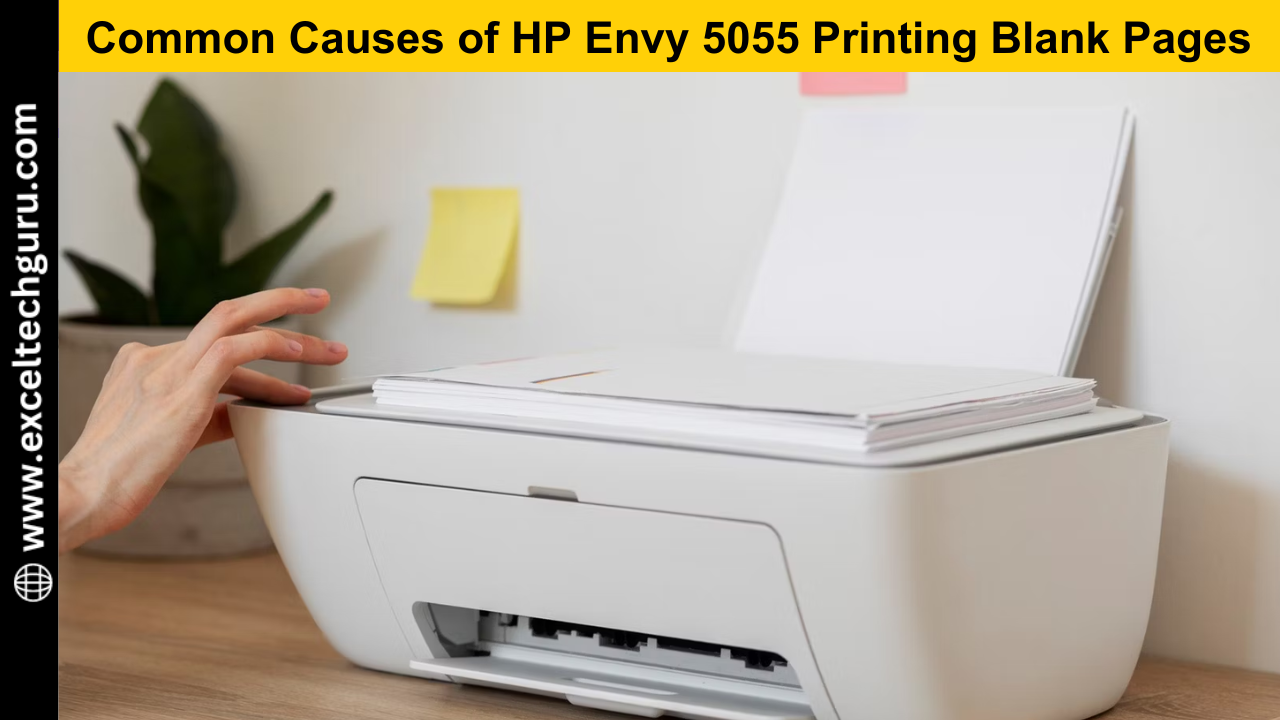
Common Causes of HP Envy 5055 Printing Blank Pages
- Empty or Low Ink Cartridges: Ensure that the ink cartridges have sufficient ink levels.
- Clogged Print Head: Print heads can become clogged with dried ink, preventing ink from being dispensed onto the paper.
- Incorrect Printer Settings: Incorrect print settings, such as selecting the wrong paper type or print quality, can cause printing issues.
- Software or Driver Issues: Outdated or corrupt printer drivers and software can lead to communication problems between the printer and the computer.
- Connection Problems: Loose or faulty USB or wireless connections can result in blank pages being printed.
- Ink Cartridge Compatibility: Using non-HP or incompatible ink cartridges can lead to printing problems.
- Firmware Issues: Outdated printer firmware may cause the printer to malfunction.
- Paper Jam or Feed Issues: Misaligned or jammed paper can disrupt the printing process.
- Printer Hardware Malfunction: Internal hardware issues within the printer can lead to printing blank pages.
- Software Conflicts: Conflicts with other installed software or applications may interfere with the printing process.
Preliminary Checks and Basic Troubleshooting
- Check Ink Levels: Ensure that the ink cartridges have sufficient ink. Low or empty cartridges can cause blank pages.
- Inspect Cartridges: Verify that the ink cartridges are properly installed and seated in their respective slots.
- Print Head Cleaning: Use the printer’s built-in cleaning function to clean the print head, which can become clogged and lead to blank pages.
- Paper Quality: Ensure you are using the correct type of paper for your printer. Poor-quality or incompatible paper can affect print results.
- Restart Printer: Turn off the printer, unplug it for a few minutes, and then plug it back in and turn it on again to reset any temporary issues.
- Check for Error Messages: Look for any error messages or blinking lights on the printer that might indicate specific problems.
- Connection Check: Ensure that the printer is properly connected to your computer or network, whether via USB or WiFi.
- Update Drivers: Ensure that your printer drivers are up to date. Outdated drivers can lead to printing issues.
- Print a Test Page: Try printing a test page from the printer’s control panel to see if it produces a blank page.
- Software Settings: Check your print settings on the computer to ensure they are correctly configured for your document.
Inspecting and Replacing Ink Cartridges
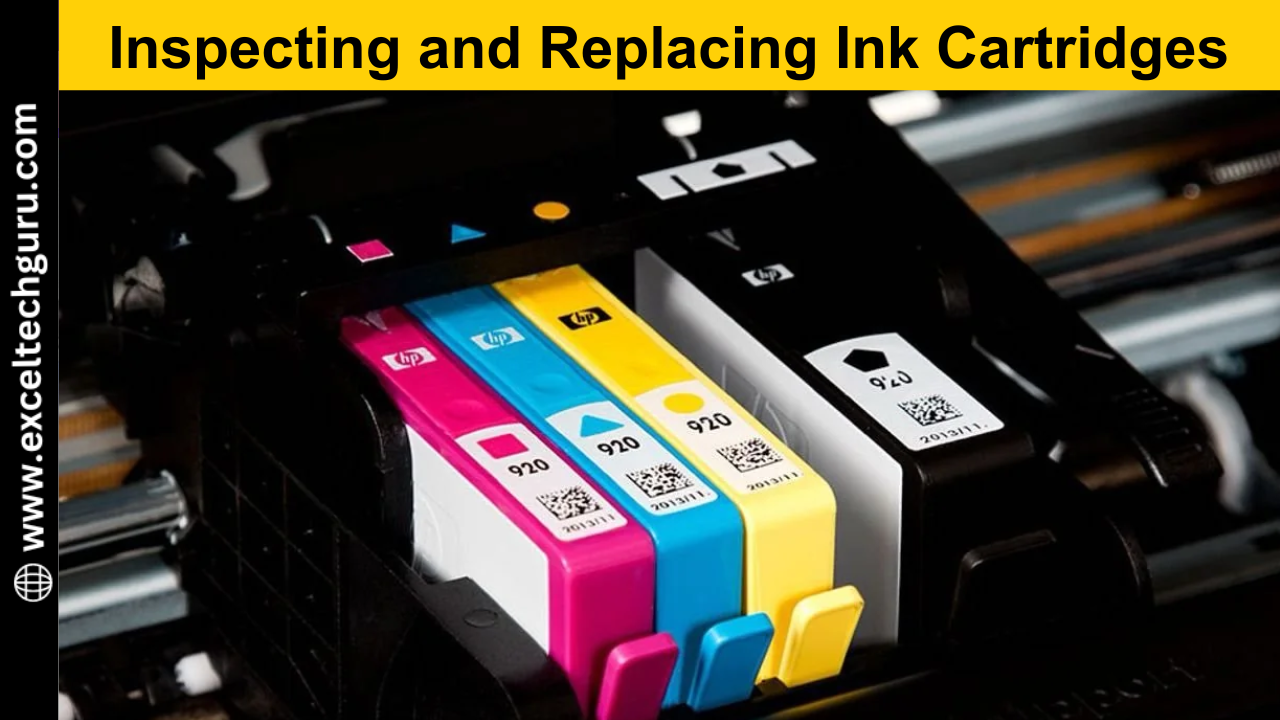
- Open Printer Cover: Lift the printer cover to access the ink cartridges.
- Wait for Cartridge Carriage: Allow the cartridge carriage to move to the center for easy access.
- Remove Cartridges: Carefully remove each ink cartridge by pressing down on the tab and pulling it out.
- Inspect Cartridges: Check for any damage, leaks, or improper installation. Ensure the protective tape has been removed from new cartridges.
- Shake Cartridges Gently: Lightly shake the cartridges to evenly distribute the ink inside.
- Install New Cartridges: If necessary, replace empty or damaged cartridges with new ones, ensuring they click securely into place.
- Close Printer Cover: After replacing the cartridges, close the printer cover.
- Align Cartridges: Run the printer’s cartridge alignment utility to ensure optimal printing quality.
- Print a Test Page: Print a test page to confirm that the new cartridges are functioning correctly and producing the expected print quality.
- Dispose of Old Cartridges: Properly dispose of old cartridges according to local regulations or participate in a recycling program.
Cleaning the Print Head
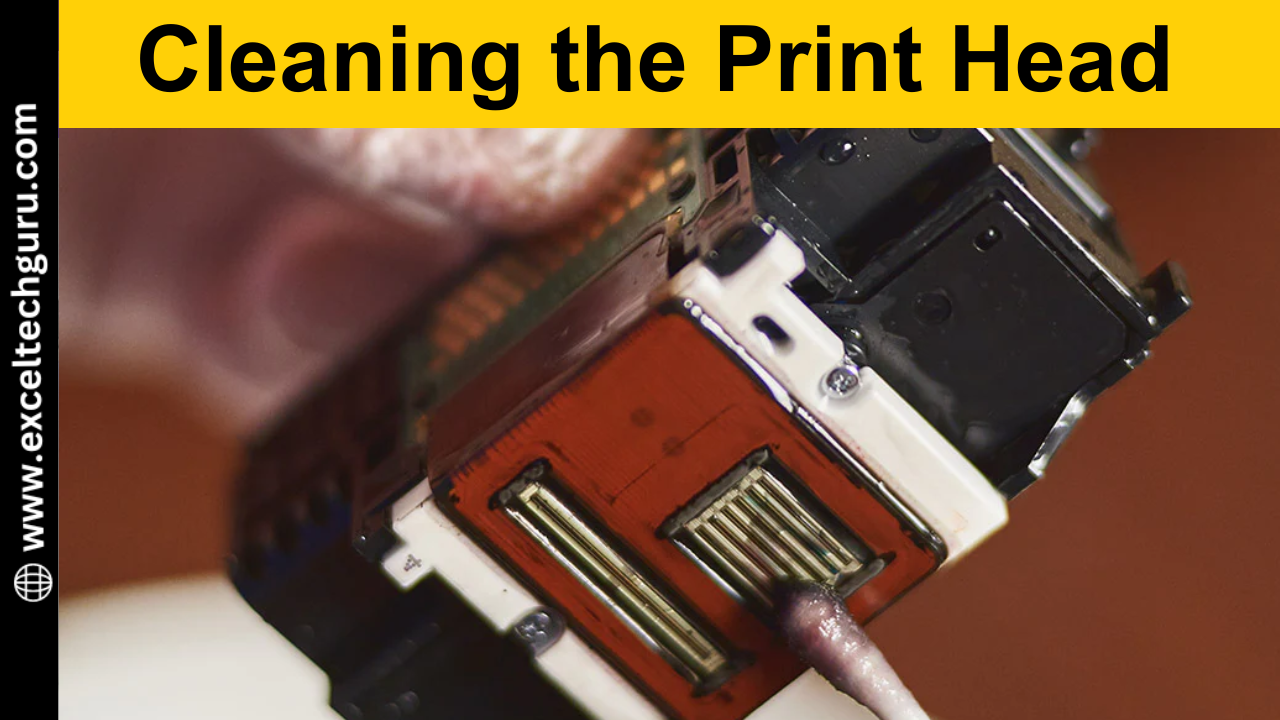
- Turn on the Printer: Ensure the HP Envy 5055 printer is powered on and connected to your computer.
- Access Printer Settings: Open the printer settings on your computer through the HP Smart app or the printer’s control panel.
- Select Maintenance: Navigate to the maintenance or tools section within the printer settings.
- Choose Print Head Cleaning: Select the print head cleaning option to start the cleaning process.
- Follow On-Screen Instructions: Follow any prompts or instructions provided on the screen to complete the cleaning cycle.
- Run a Cleaning Cycle: The printer will automatically clean the print head. This process may take a few minutes.
- Print a Test Page: After the cleaning cycle is complete, print a test page to check if the issue has been resolved.
- Repeat if Necessary: If the print quality is still poor, you may need to repeat the cleaning cycle 2-3 times.
- Deep Cleaning (If Needed): For persistent issues, use the deep cleaning option available in the printer settings.
- Check Ink Levels: Ensure that there is enough ink in the cartridges, as low ink levels can affect the cleaning process.
- Perform Regular Maintenance: To prevent future issues, clean the print head regularly as part of routine printer maintenance.
Updating Printer Drivers and Firmware

- Check for Updates: Open the HP Smart app or HP Support website to check for the latest printer drivers and firmware updates.
- Download Latest Drivers: Visit the HP Support website, enter your printer model (HP Envy 5055), and download the latest drivers and firmware updates.
- Open Printer Settings: Access the printer settings on your computer through the control panel or HP Smart app.
- Install Drivers: Follow the on-screen instructions to install the downloaded printer drivers on your computer.
- Update Firmware: If prompted, update the printer’s firmware to the latest version. This may involve connecting the printer to your computer via USB.
- Restart Printer: After installing updates, restart your printer to ensure the changes take effect.
- Verify Installation: Check the printer settings to verify that the latest drivers and firmware have been installed.
- Test Print Functionality: Print a test page to ensure that the printer is functioning correctly after the updates.
- Enable Automatic Updates: To keep your printer drivers and firmware up-to-date, enable automatic updates in the printer settings if available.
- Troubleshoot Any Issues: If you encounter any problems during the update process, consult the HP Support website or contact HP customer service for assistance.
- Regularly Check for Updates: Periodically check for new updates to maintain optimal printer performance.
Adjusting Printer Settings of HP Envy 5055 Printing Blank Pages

- Access Printer Settings: Open the printer settings on your computer through the control panel or the HP Smart app.
- Select Correct Printer: Ensure that the HP Envy 5055 is selected as the default printer.
- Paper Settings: Check that the paper type and size settings match the paper loaded in the printer.
- Print Quality Settings: Set the print quality to a higher setting if prints are coming out blank or faded.
- Ink Levels: Verify that the ink levels are adequate and replace any low or empty cartridges.
- Clean Printhead: Use the built-in printhead cleaning function found in the printer maintenance settings.
- Print Alignment: Perform a print alignment to ensure the printhead is properly aligned with the paper.
- Reset Printer Settings: If necessary, reset the printer settings to factory defaults and reconfigure them.
- Enable Bidirectional Printing: Ensure that bidirectional printing is enabled for improved print accuracy.
- Update Print Drivers: Make sure the printer drivers are updated to the latest version.
- Check Print Spooler: Ensure the print spooler service is running correctly on your computer.
- Test Print Settings: Print a test page after adjusting settings to verify improvements.
- Save Settings: Save any changes made to the printer settings to ensure they are applied to future print jobs.
Running a Printer Diagnostic Test
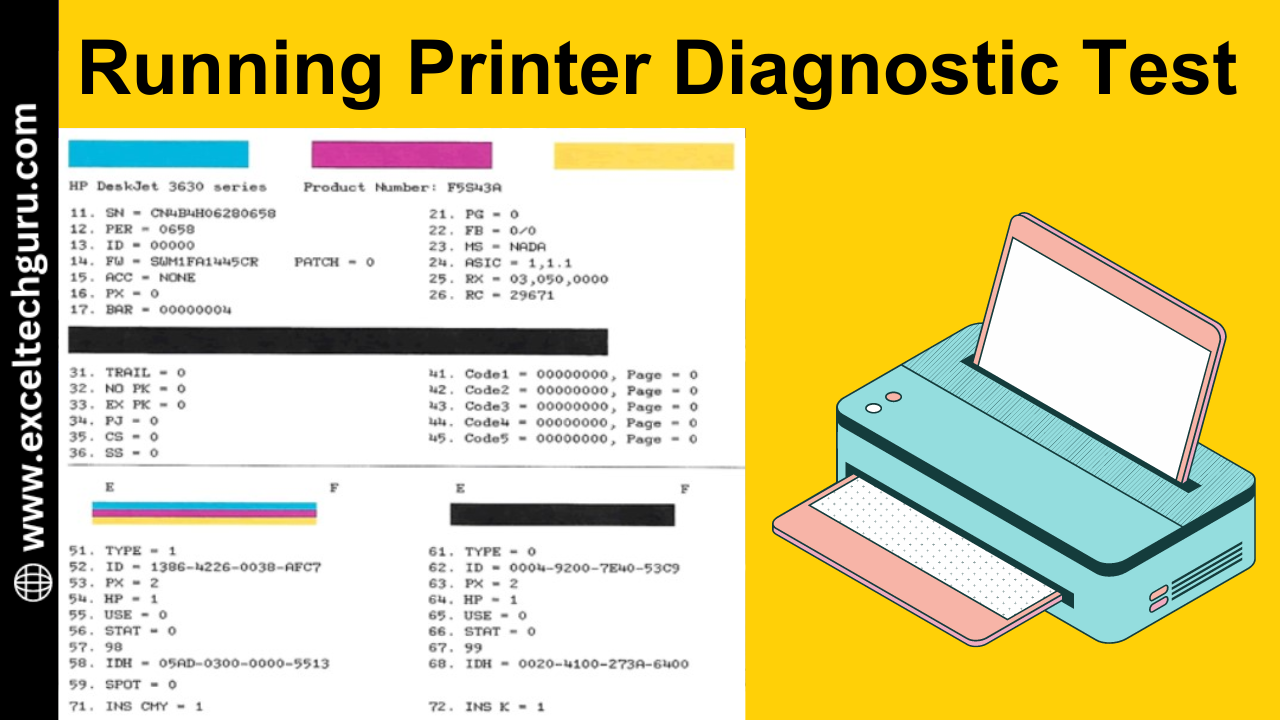
- Access Printer Menu: Open the printer menu from the control panel or the HP Smart app on your device.
- Navigate to Maintenance or Tools: Locate the maintenance or tools section in the printer menu.
- Select Diagnostic Test: Choose the option to run a printer diagnostic test.
- Initiate Test: Start the diagnostic test and allow the printer to perform a series of checks.
- Follow On-Screen Instructions: Follow any on-screen instructions or prompts during the test.
- Check Print Quality: Review the print quality diagnostic page printed by the test for any issues.
- Identify Errors: Note any error codes or messages displayed during the diagnostic test.
- Review Test Results: Analyze the results of the diagnostic test to identify potential problems.
- Perform Recommended Actions: Follow any recommended actions provided by the diagnostic test results.
- Repeat Test if Necessary: If issues are found and addressed, run the diagnostic test again to confirm resolution.
- Consult User Manual: Refer to the printer’s user manual for specific instructions related to diagnostic tests.
- Contact Support: If problems persist, consider contacting HP support for further assistance based on the diagnostic test results.
Preventive Measures to Avoid Future Issues
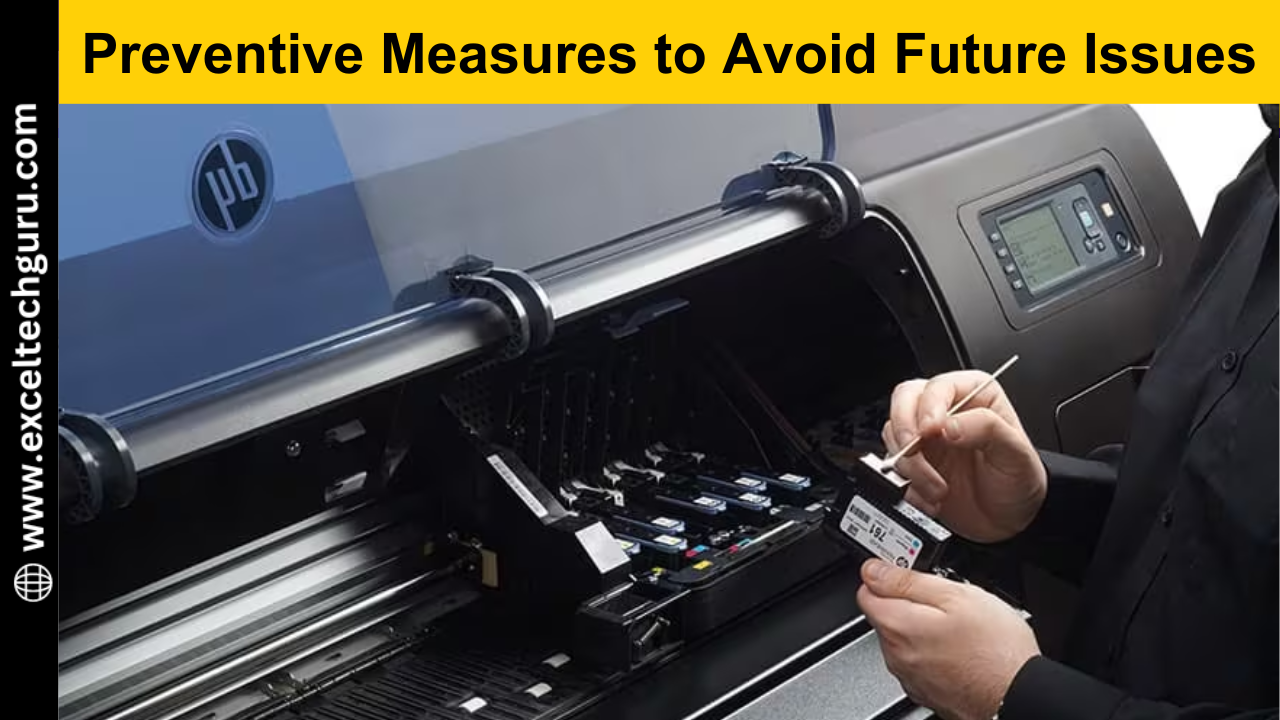
- Regular Maintenance: Schedule regular maintenance checks to keep the printer in optimal condition.
- Clean Printer Components: Periodically clean the print head, ink cartridges, and paper rollers to prevent clogs and ensure smooth operation.
- Use Genuine Ink Cartridges: Always use genuine HP ink cartridges to avoid compatibility issues and maintain print quality.
- Keep Firmware Updated: Regularly check for and install firmware updates to ensure the printer runs efficiently with the latest features and bug fixes.
- Proper Storage: Store ink cartridges in a cool, dry place to prevent them from drying out or leaking.
- Print Regularly: Use the printer frequently to prevent ink from drying up and causing blockages in the print head.
- Use High-Quality Paper: Use recommended paper types and sizes to avoid jams and ensure high-quality prints.
- Avoid Overloading Paper Tray: Do not overload the paper tray to prevent feeding issues and paper jams.
- Handle Cartridges Carefully: Be careful when handling ink cartridges to avoid damage to the nozzles and contacts.
- Monitor Ink Levels: Keep an eye on ink levels and replace cartridges before they are completely empty to prevent air from entering the ink system.
- Secure WiFi Connection: Ensure a stable WiFi connection to avoid connectivity issues during printing tasks.
- Store Printer in a Clean Environment: Place the printer in a clean, dust-free environment to avoid dust accumulation inside the printer.
- Turn Off Properly: Always turn off the printer using the power button to avoid any issues with the printhead or cartridges.
- Check for Obstructions: Regularly check the paper path and printhead path for any obstructions or debris that could cause printing problems.
- Consult User Manual: Refer to the user manual for specific maintenance guidelines and troubleshooting tips.
Ensuring Smooth Printing Experience
Incorporating these preventive measures into your routine maintenance practices can significantly contribute to a smoother printing experience with your HP Envy 5055 printer by solving the problem of HP envy 5055 printing blank pages. By staying proactive and implementing these strategies, you can minimize the occurrence of printing issues and prolong the lifespan of your printer. Remember to perform regular maintenance checks, use genuine ink cartridges, keep firmware updated, and handle the printer with care. By taking these steps, you'll not only maintain optimal print quality but also save time and effort in troubleshooting printing problems in the future like you can check our HP envy photo 7155 troubleshooting guide also. With a well-maintained printer, you can continue to enjoy crisp, clear prints for all your documents and photos.FAQ’s
There could be several reasons for this, including depleted ink cartridges, clogged print heads, or incorrect printer settings.
You can try troubleshooting steps such as checking ink levels, cleaning the print head, or updating printer drivers to resolve the issue.
You can check ink levels through the printer's control panel or using the HP Smart app on your computer or mobile device.
Replace any low or empty ink cartridges with genuine HP ink cartridges to ensure optimal print quality.
If you still face any issues while printing blank pages, you can contact our customer support for assistance by calling us or talking on live chat with our expert. They can provide step-by-step guidance to resolve any problems.


