
Why Choose Wireless Setup for Your Epson EcoTank ET-2850?
- Convenience: Print from anywhere within your home or office without the need for physical connections.
- Flexibility: Easily connect multiple devices to the printer, including smartphones, tablets, and laptops.
- Clutter-Free Environment: Eliminate the mess of tangled cables and keep your workspace neat and organized.
- Remote Printing: Send print jobs from your device to the printer even when you're away from home using cloud printing services.
- Easy Sharing: Multiple users can share the same printer, making it perfect for family use or small office environments.
- Seamless Integration: Compatible with various wireless printing standards, ensuring smooth operation across different platforms and devices.
- Future-Proofing: Stay ahead with modern technology that supports the increasing trend of wireless connectivity in devices.
Preparing Your Epson EcoTank ET-2850 Wireless Setup
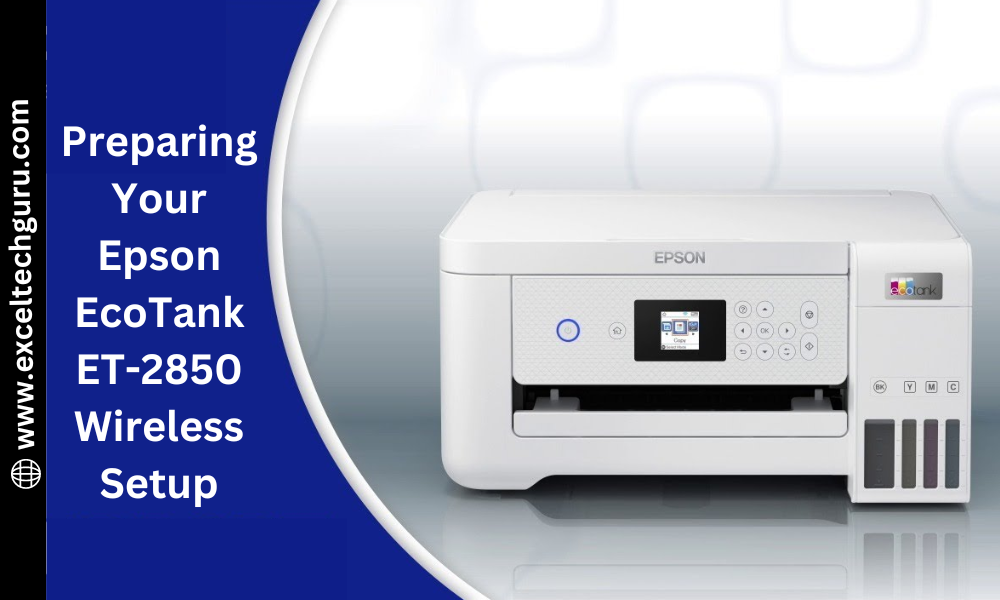
- Unbox and Inspect: Unbox your Epson EcoTank ET-2850 and ensure all components are included and undamaged.
- Fill the Ink Tanks: Carefully fill the ink tanks with the provided ink bottles, following the instructions in the manual.
- Power On the Printer: Connect the printer to a power source and press the power button to turn it on.
- Load Paper: Insert the appropriate size of paper into the paper tray to prepare for print jobs.
- Install Printhead: If required, install the printhead by following the instructions in the user manual.
- Connect Control Panel: Familiarize yourself with the printer’s control panel and ensure it is functioning properly.
- Check for Firmware Updates: Ensure your printer’s firmware is up-to-date by checking for updates through the printer’s control panel.
- Download Epson Software: Visit the Epson website to download and install the necessary software and drivers on your computer or mobile device.
- Gather Network Information: Have your Wi-Fi network name (SSID) and password ready for the setup process.
- Clear a Space: Ensure you have a clean, flat surface near your Wi-Fi router to place your printer during setup.
Connecting Epson EcoTank ET-2850 to WiFi via Control Panel
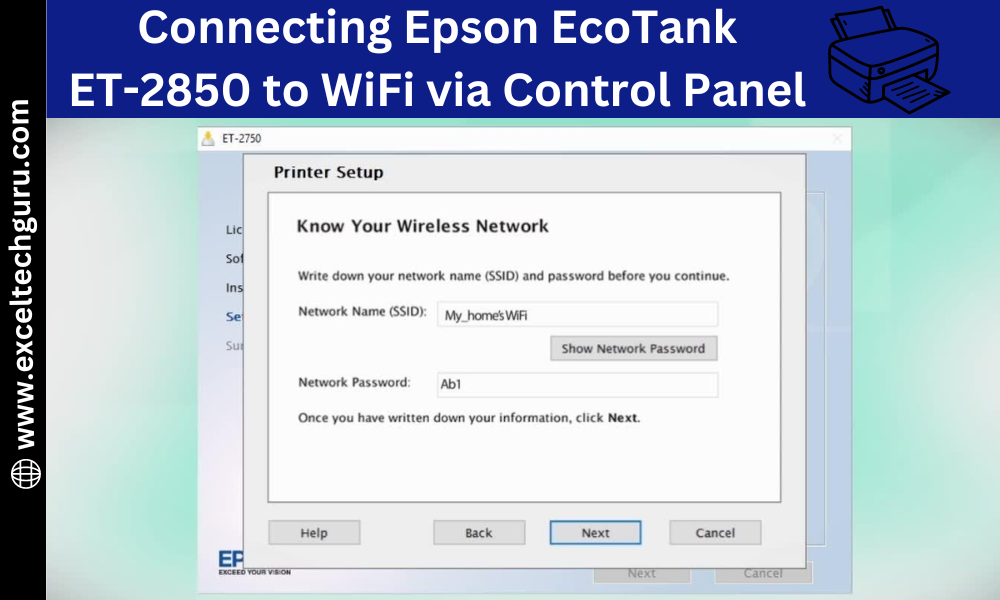
- Access WiFi Setup: On the printer’s control panel, press the home button, then navigate to the network settings or WiFi setup option.
- Select WiFi Setup: Choose "WiFi Setup" from the menu to begin the wireless setup process.
- Choose WiFi Setup Wizard: Select "WiFi Setup Wizard" to search for available wireless networks.
- Select Your Network: From the list of detected networks, select your WiFi network (SSID).
- Enter Password: Use the control panel to enter your WiFi password. Be careful to enter it correctly, including any uppercase or lowercase letters.
- Confirm Settings: Confirm the settings and initiate the connection process.
- Wait for Connection: Wait while the printer connects to your WiFi network. This may take a few moments.
- Connection Successful: Once connected, you should see a confirmation message on the control panel indicating a successful connection.
- Print Network Report: Optionally, print a network connection report to verify the connection details.
- Test the Connection: Perform a test print to ensure the printer is properly connected to your WiFi network.
Connecting Epson EcoTank ET-2850 to WiFi Using WPS Method
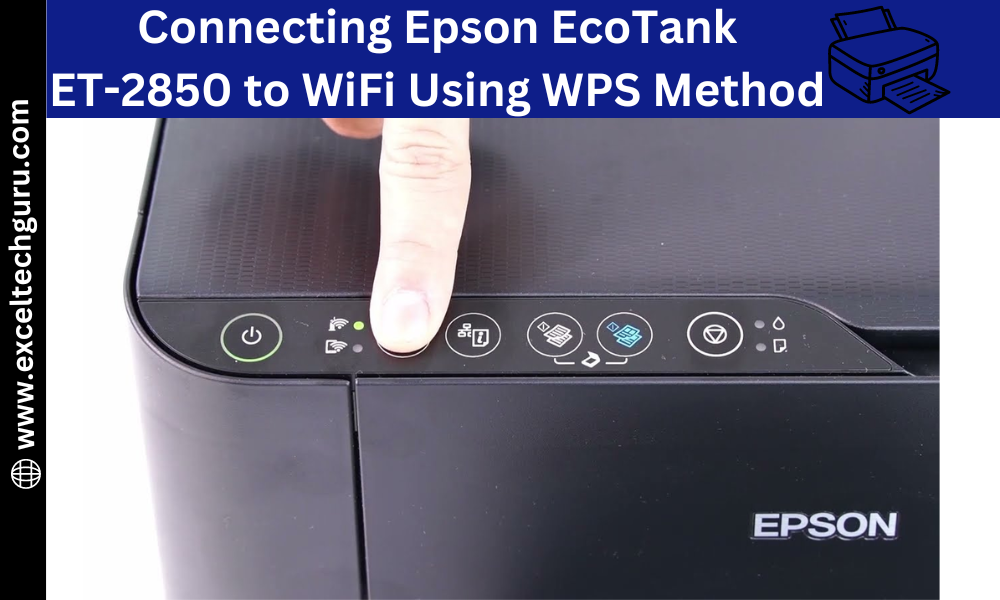
- Locate WPS Button on Router: Find the WPS button on your WiFi router. This button is typically labeled "WPS" and is often located on the back or side of the router.
- Access WiFi Setup on Printer: On the Epson EcoTank ET-2850 control panel, press the home button, then navigate to the network settings or WiFi setup option.
- Select WPS (Push Button): Choose the "WPS (Push Button)" option from the WiFi setup menu.
- Start WPS Process: The printer will prompt you to start the WPS process. Confirm by selecting "OK" or "Start" on the printer's display.
- Press WPS Button on Router: Within two minutes, press the WPS button on your router to allow the printer to connect.
- Wait for Connection: The printer will attempt to connect to the WiFi network. This may take a few moments.
- Connection Successful: Once connected, the printer will display a confirmation message indicating a successful connection.
- Print Network Report: Optionally, print a network connection report from the printer’s control panel to verify the connection details.
- Test the Connection: Perform a test print to ensure the Epson EcoTank ET-2850 is properly connected to your WiFi network.
Installing Necessary Drivers and Software for Wireless Printing
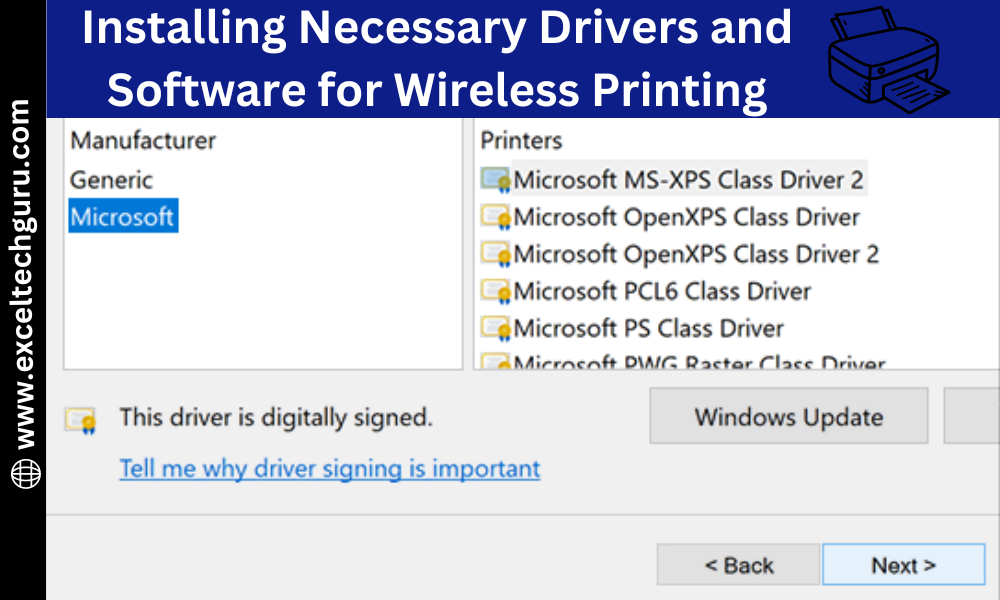
- Visit the Epson Support Website: Go to the official Epson support website using your web browser.
- Locate Your Printer Model: Enter "Epson EcoTank ET-2850" in the search bar or navigate through the product categories to find your printer model.
- Download Drivers and Software: Once on the product page, locate the "Drivers & Downloads" section. Download the necessary drivers and software package compatible with your operating system (Windows, macOS, etc.).
- Run the Installer: Open the downloaded file to begin the installation process. Follow the on-screen prompts to proceed.
- Agree to License Agreement: Read and agree to the End-User License Agreement (EULA) to continue with the installation.
- Select Installation Type: Choose the "Wireless Connection" option when prompted. This ensures the software sets up the printer for wireless use.
- Connect Printer to Computer: Temporarily connect your printer to your computer using a USB cable if prompted, to complete the wireless setup process.
- Enter WiFi Credentials: Enter your WiFi network name (SSID) and password during the installation process to connect the printer to your network.
- Complete Installation: Follow the remaining on-screen instructions to complete the driver and software installation. This may include setting the printer as the default printer and printing a test page.
- Restart Your Computer: After installation, restart your computer to ensure all changes take effect.
- Verify Wireless Printing: Open a document or photo on your computer and select the Epson EcoTank ET-2850 as the printer. Print a test page to verify that the wireless setup was successful.
Testing the Wireless Connection on Your Epson EcoTank ET-2850
- Power On: Ensure your Epson EcoTank ET-2850 printer is powered on and ready.
- Network Setup: Check that your printer is correctly connected to your wireless network. You can do this by navigating to the printer’s control panel and accessing the network settings.
- Signal Strength: Verify that the wireless signal strength is adequate. Weak signals can cause connectivity issues.
- Restart Devices: Sometimes restarting both your printer and wireless router can resolve connectivity problems. Try turning them off and on again.
- SSID and Password: Double-check the SSID (network name) and password entered into the printer to ensure they are correct.
- Printer Settings: Access the printer’s settings menu to confirm that wireless connectivity is enabled and that the correct network settings are configured.
- Connection Test: Use the printer’s control panel to run a wireless network connection test. This can help diagnose any issues with the wireless connection.
- Firmware Updates: Ensure your printer’s firmware is up to date. Sometimes, updating the firmware can fix bugs related to wireless connectivity.
- Driver Software: Make sure the printer driver software on your computer is installed and up to date. Epson provides drivers that facilitate wireless communication between your devices and the printer.
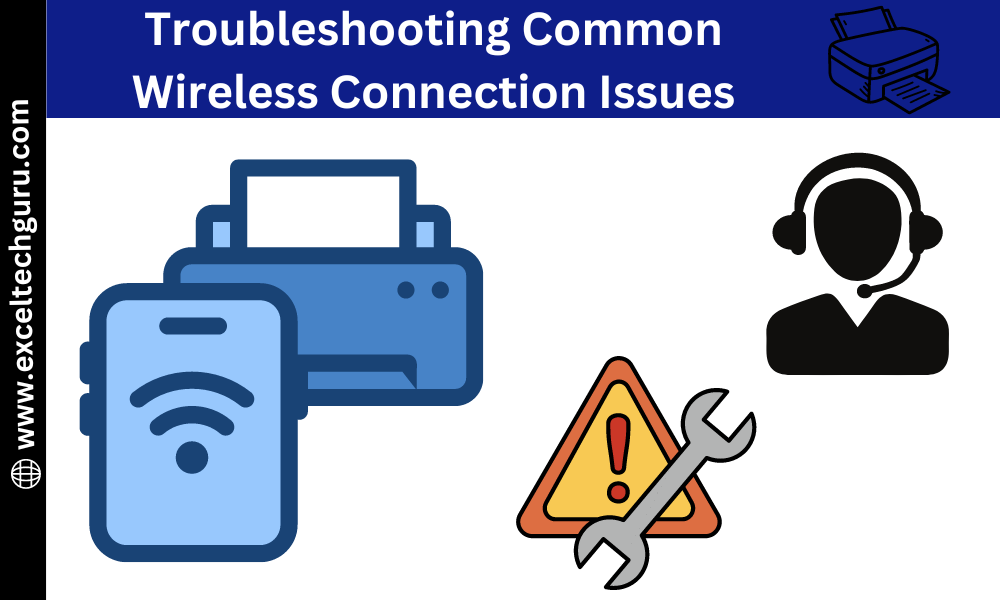
Troubleshooting Common Wireless Connection Issues
- Power and Connections: Ensure the printer is powered on and all cables are securely connected, including power and network cables.
- Restart Devices: Power cycle the printer, wireless router, and computer to reset their connections.
- Signal Strength: Verify the printer is within range of the wireless router and consider moving it closer if signal strength is weak.
- Verify Wireless Settings: Double-check the SSID and password entered into the printer and ensure it is connected to the correct wireless network.
- Update Firmware: Check for and install any available firmware updates for the Epson EcoTank ET-2850 printer to improve performance and fix bugs.
- Wireless Network Settings: Access the printer’s control panel to confirm wireless connectivity is enabled and correctly configured.
- Driver Software: Update the printer driver software on your computer to the latest version from the Epson support website.
- Firewall and Security Software: Temporarily disable firewall or security software to check if they are blocking the printer’s connection, then re-enable them after troubleshooting.
- Reset Network Settings: Reset the printer’s network settings to default and set up the wireless connection again if issues persist.
- Contact Support: If problems continue, contact Epson customer support for further assistance, providing details of the issue and steps taken so far.
Epson Ecotank ET-2850 Wireless Setup
The first step is to ensure that your printer is unboxed, assembled, and powered on. Make sure you have a stable WiFi connection and the necessary network details, such as the SSID and password.
es, you need to install the necessary drivers and software for your printer. You can download the latest drivers from the Epson website. Follow the installation instructions provided to ensure your printer can communicate with your devices wirelessly.
Yes, you can set up wireless printing from your smartphone or tablet by downloading the Epson iPrint app. Follow the app's instructions to connect your printer to your device.
Yes, if you face any issues during Epson Ecotank ET-2850 Wireless Setup, you can contact our customer support for assistance by calling us or talking on live chat with our expert. They can provide step-by-step guidance to resolve any problems.


